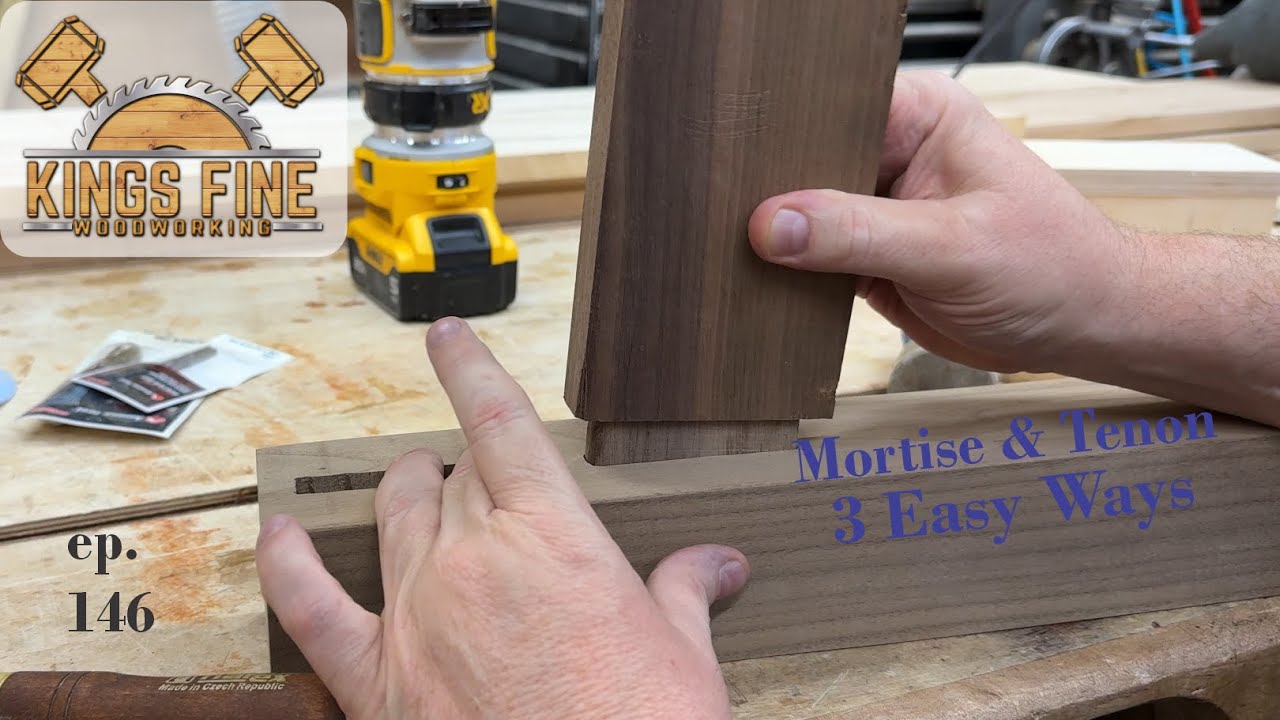
Fitting a Mortise and Tenon Joint by Hand: The Heart of Every Toy

The mortise and tenon is the oldest woodworking joint in history. I use it in nearly every toy I make, and I cut every one of them by hand. Here is exactly how it is done.
Why Mortise and Tenon for Toys
A toy is not furniture. It will be dropped, thrown, sat on, dragged across gravel paths, and left in the rain. The joint holding its legs to its body needs to be strong in every direction simultaneously — in shear, in tension, in bending. The mortise and tenon is the only hand-cut joint that reliably delivers all of this. Dowels are adequate. Biscuits are worse. The mortise and tenon, properly fitted, is in a different class entirely.
I also use it because it is honest. When a child is older and curious enough to examine one of my toys carefully, they will see the joint. They will understand, even without knowing the name, that two pieces of wood have been shaped to fit one another exactly, that a craftsman has thought about this moment. A joint made with a biscuit joiner and wood glue offers no such story.
Laying Out the Mortise
I mark every mortise with a marking gauge — a small wooden tool with a sharpened pin that scores a line parallel to the edge of the wood at a set distance. I set the gauge to one-third of the thickness of the wood for the mortise width. For linden toy legs, which are typically 18mm thick, this means a 6mm mortise, which is exactly the width of my dedicated mortise chisel.
I mark the mortise length with a sharp marking knife and a square. The knife line is important — it severs the fibres cleanly at the shoulder of the mortise and prevents any breakout when I begin chopping. I always mark the mortise first, then use the same gauge setting to mark the corresponding tenon cheeks, which guarantees they will be exactly the same thickness as the mortise is wide.
Chopping the Mortise
I chop mortises in linden with a 6mm pigsticker — an old-fashioned mortise chisel with an oval cross-section, very thick, made to be driven hard with a mallet without flexing. I start about 3mm in from the far knife line, bevel facing the waste, and drive the chisel straight down with a firm mallet blow. Then I lever back slightly to break the chip. I work toward the near knife line in a series of these chops, each one slightly deeper than the last, until I am about halfway through the thickness of the wood.
Then I flip the piece and work from the other face to meet in the middle. The reason for this two-direction approach is simple: if you chop all the way through from one face, the chisel will blow out the far face just as it breaks through, leaving a ragged exit hole. Working from both sides keeps both faces clean.
I clean the walls of the mortise with careful vertical paring cuts, holding the chisel flat against each wall in turn and slicing down. The goal is four walls that are perfectly flat, perfectly vertical, and perfectly parallel. I check with a small square. Any deviation will show up in the joint as a gap or a twist.
Cutting the Tenon
I cut tenon cheeks with a tenon saw — a stiff-backed saw with fine teeth. I saw just to the waste side of my knife line, which means leaving about half a millimetre of waste that I will remove with a shoulder plane. The saw must be kept vertical; I check this by sighting down the length of the blade from behind, and also by watching the reflection of the wood in the saw plate — if the reflection is undistorted, the saw is vertical.
After both cheeks are sawn, I clean them with a shoulder plane — a small plane whose blade extends to the full width of the body, so it can cut right into the corner of the shoulder. Two or three strokes per cheek, checking with a small square as I go. Then I trial-fit the tenon into the mortise.
Fitting — the Most Satisfying Part
The first trial fit is always too tight. The tenon will not enter the mortise, or it will go in only partway and then stick. This is correct — I deliberately leave the tenon fractionally fat so that I can fit it precisely to this particular mortise. I look for the shiny patches on the tenon cheeks where the walls of the mortise have pressed against them and left a burnished mark. Those marks tell me exactly where wood needs to be removed.
A few strokes of the shoulder plane on the shiny patches, another trial fit. I do this four or five times until the tenon slides home with hand pressure alone — no mallet — but with no slop whatsoever. It should feel like a precision fit. When I pull the joint apart, there should be a faint resistance, a small pop as the air pressure releases. That sound means the joint is perfect.
With glue, such a joint will last a century. I use hide glue, applied warm with a small brush to both the mortise walls and the tenon faces. Hide glue is reversible with heat and moisture — a conservator can open the joint in two hundred years if they need to. Wood glue is permanent and brutal. For toys that I hope will outlive me, hide glue is the only honest choice.